HEXE

Introduction
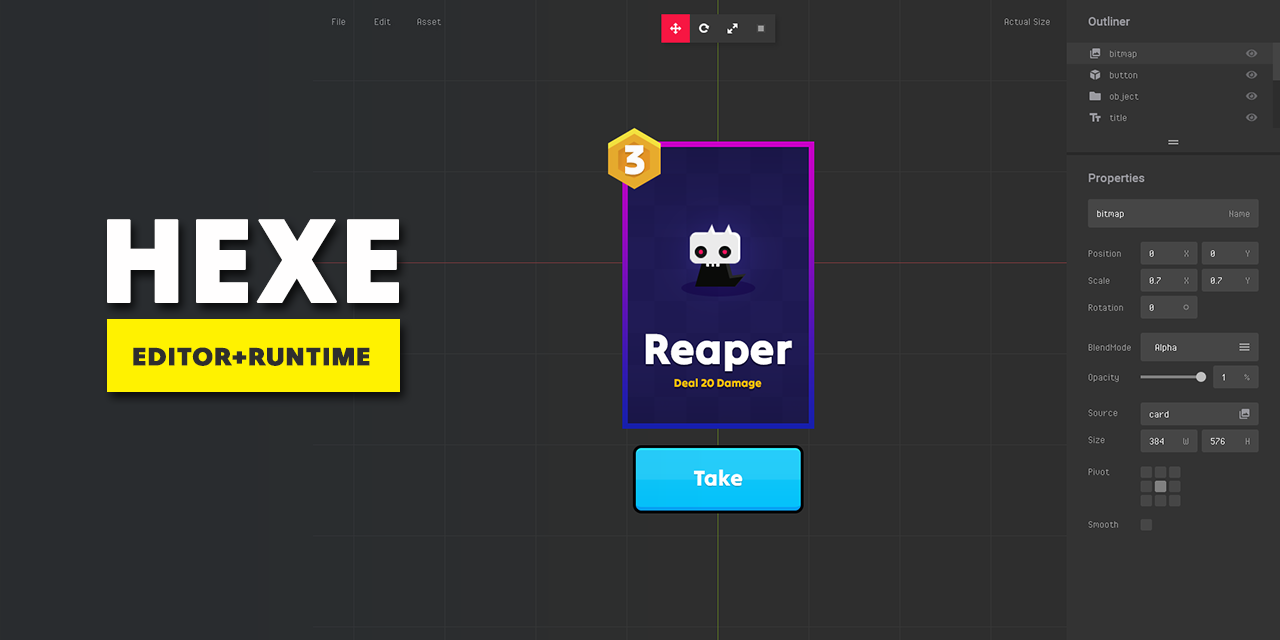
HEXE (Witch) is a prefab editor and runtime library for the Heaps game engine. HEXE is focused on 2D content and serves as a more user-friendly alternative to Hide (Heaps IDE).
How It Works
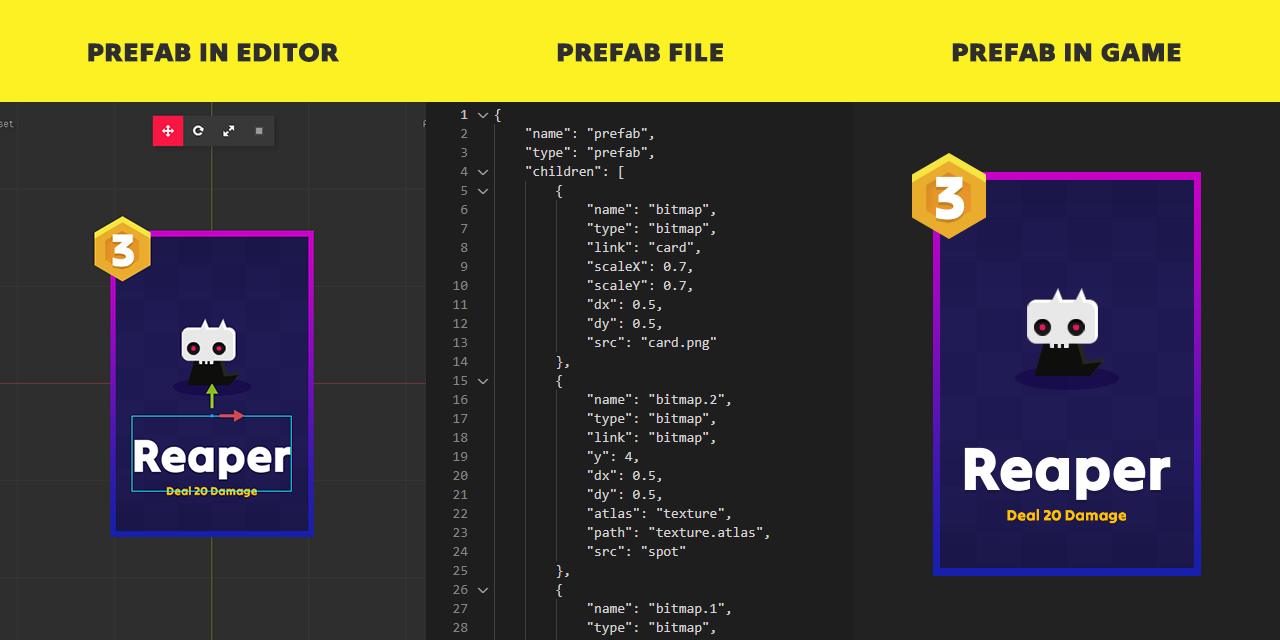
Use the editor to create a prefab from your project assets and save it as a file in the res directory. Then, you can use the hxe.Lib library to load the prefab file into the game as an hxe.Prefab display object.
About the Prefab
All prefab files have a “.prefab” extension to differentiate them from other data files.
A prefab file is simply a JSON text file, formatted with newlines, that contains data about the objects to be created (such as bitmaps, interactive elements, etc.), their placement in the prefab, and the properties to be applied to these objects.
The library loads and parses the file to retrieve the saved data. It then creates the main prefab object, generates all its child objects, positions them correctly, and sets the required properties.
A prefab object is essentially a container for other objects: bitmaps, text elements, interactive components, and others. A prefab could represent an entire game screen, containing other prefabs, a simple UI element, or a game character.

Prefabs can be nested within other prefabs to create complex object hierarchies. In the editor, you can override settings for individual prefabs, allowing certain prefab instances to differ from others.
Once a prefab is placed in the scene, it becomes an instance of the prefab. You can create as many instances as needed.
Prefab Object
hxe.Prefab inherits from h2d.Object, so properties such as position, rotation, scale, and opacity can be set for a prefab instance in the same way as for any other object.
The prefab includes a method for quick access to objects within its hierarchy. You can learn more about this in the In-game Implementation and API sections.
Supported Objects
List of Heaps h2d objects that can be added to a prefab:
- Object
- Bitmap from image file
- Bitmap from loaded Texture Atlas
- Text with default or loaded Font
- Interactive
- Graphics
- Linked Prefab
- Anim
- ScaleGrid
- Mask
Quick Start
Download the editor and create your prefab.
Install the library from haxelib:
haxelib install prefab
Alternatively the dev version of the library can be installed from github:
haxelib git prefab https://github.com/nayata/prefab.git
Include the library in your project’s .hxml:
-lib prefab
Use hxe.Lib to load and add a prefab instance to the scene. Note: the prefab name must be without extension.
var object:hxe.Prefab = hxe.Lib.load("myPrefab", s2d);
Prefabs can also be instantiated directly.
var object = new hxe.Prefab("myPrefab", s2d);
Working with editor
Editor interface.

Menu
- File - open and save files.
- Edit - Undo / Redo. Copy and paste objects.
- Assets - Add objects. Load fonts and texture atlases.
Tools
- Translate - Move object.
- Rotation - Rotate object.
- Scale - Scale object.
- Size - Resize object.
- Lock - Objects auto-select locking.
Outliner
- Prefab objects hierarchy.
Properties
- Object properties - Name, transformation, display, and specific properties based on the object type.
Creating prefab:
Assets Path
The editor will automatically detect your res folder when you open a prefab or add any resource to an unsaved prefab. For each asset, a relative path will be generated. With this, prefabs can be safely saved to any subfolder.
Auto-detection of the resource folder can be disabled in the editor.config file in the HEXE folder by setting the auto value to false.
Naming
Each object added to a prefab is given a default name based on its type (e.g., “object”, “bitmap”, “text”). You can change this name to something unique if you need to access the object in the prefab hierarchy through code.
Order and Parenting
You can adjust the display order of prefab objects or change their parent objects. Simply drag the object item in the Outliner to a new position or drop it onto another item.
Note that some objects cannot have children, such as Text, Interactive, and Linked Prefab.
Overriding prefab fields:
Class references for linked prefabs
Linked (nested) prefabs can also have a reference to a class assigned to them. This allows you to bind additional logic or behavior to a prefab instance directly from the editor.
Important: the referenced class must be known to the Haxe compiler. In practice, this means the class must be mentioned somewhere in your codebase (for example, by importing it or otherwise referencing it), otherwise it may be removed by dead code elimination and will not be available at runtime.
For details on how these class references are used see “In-game implementation”.